English
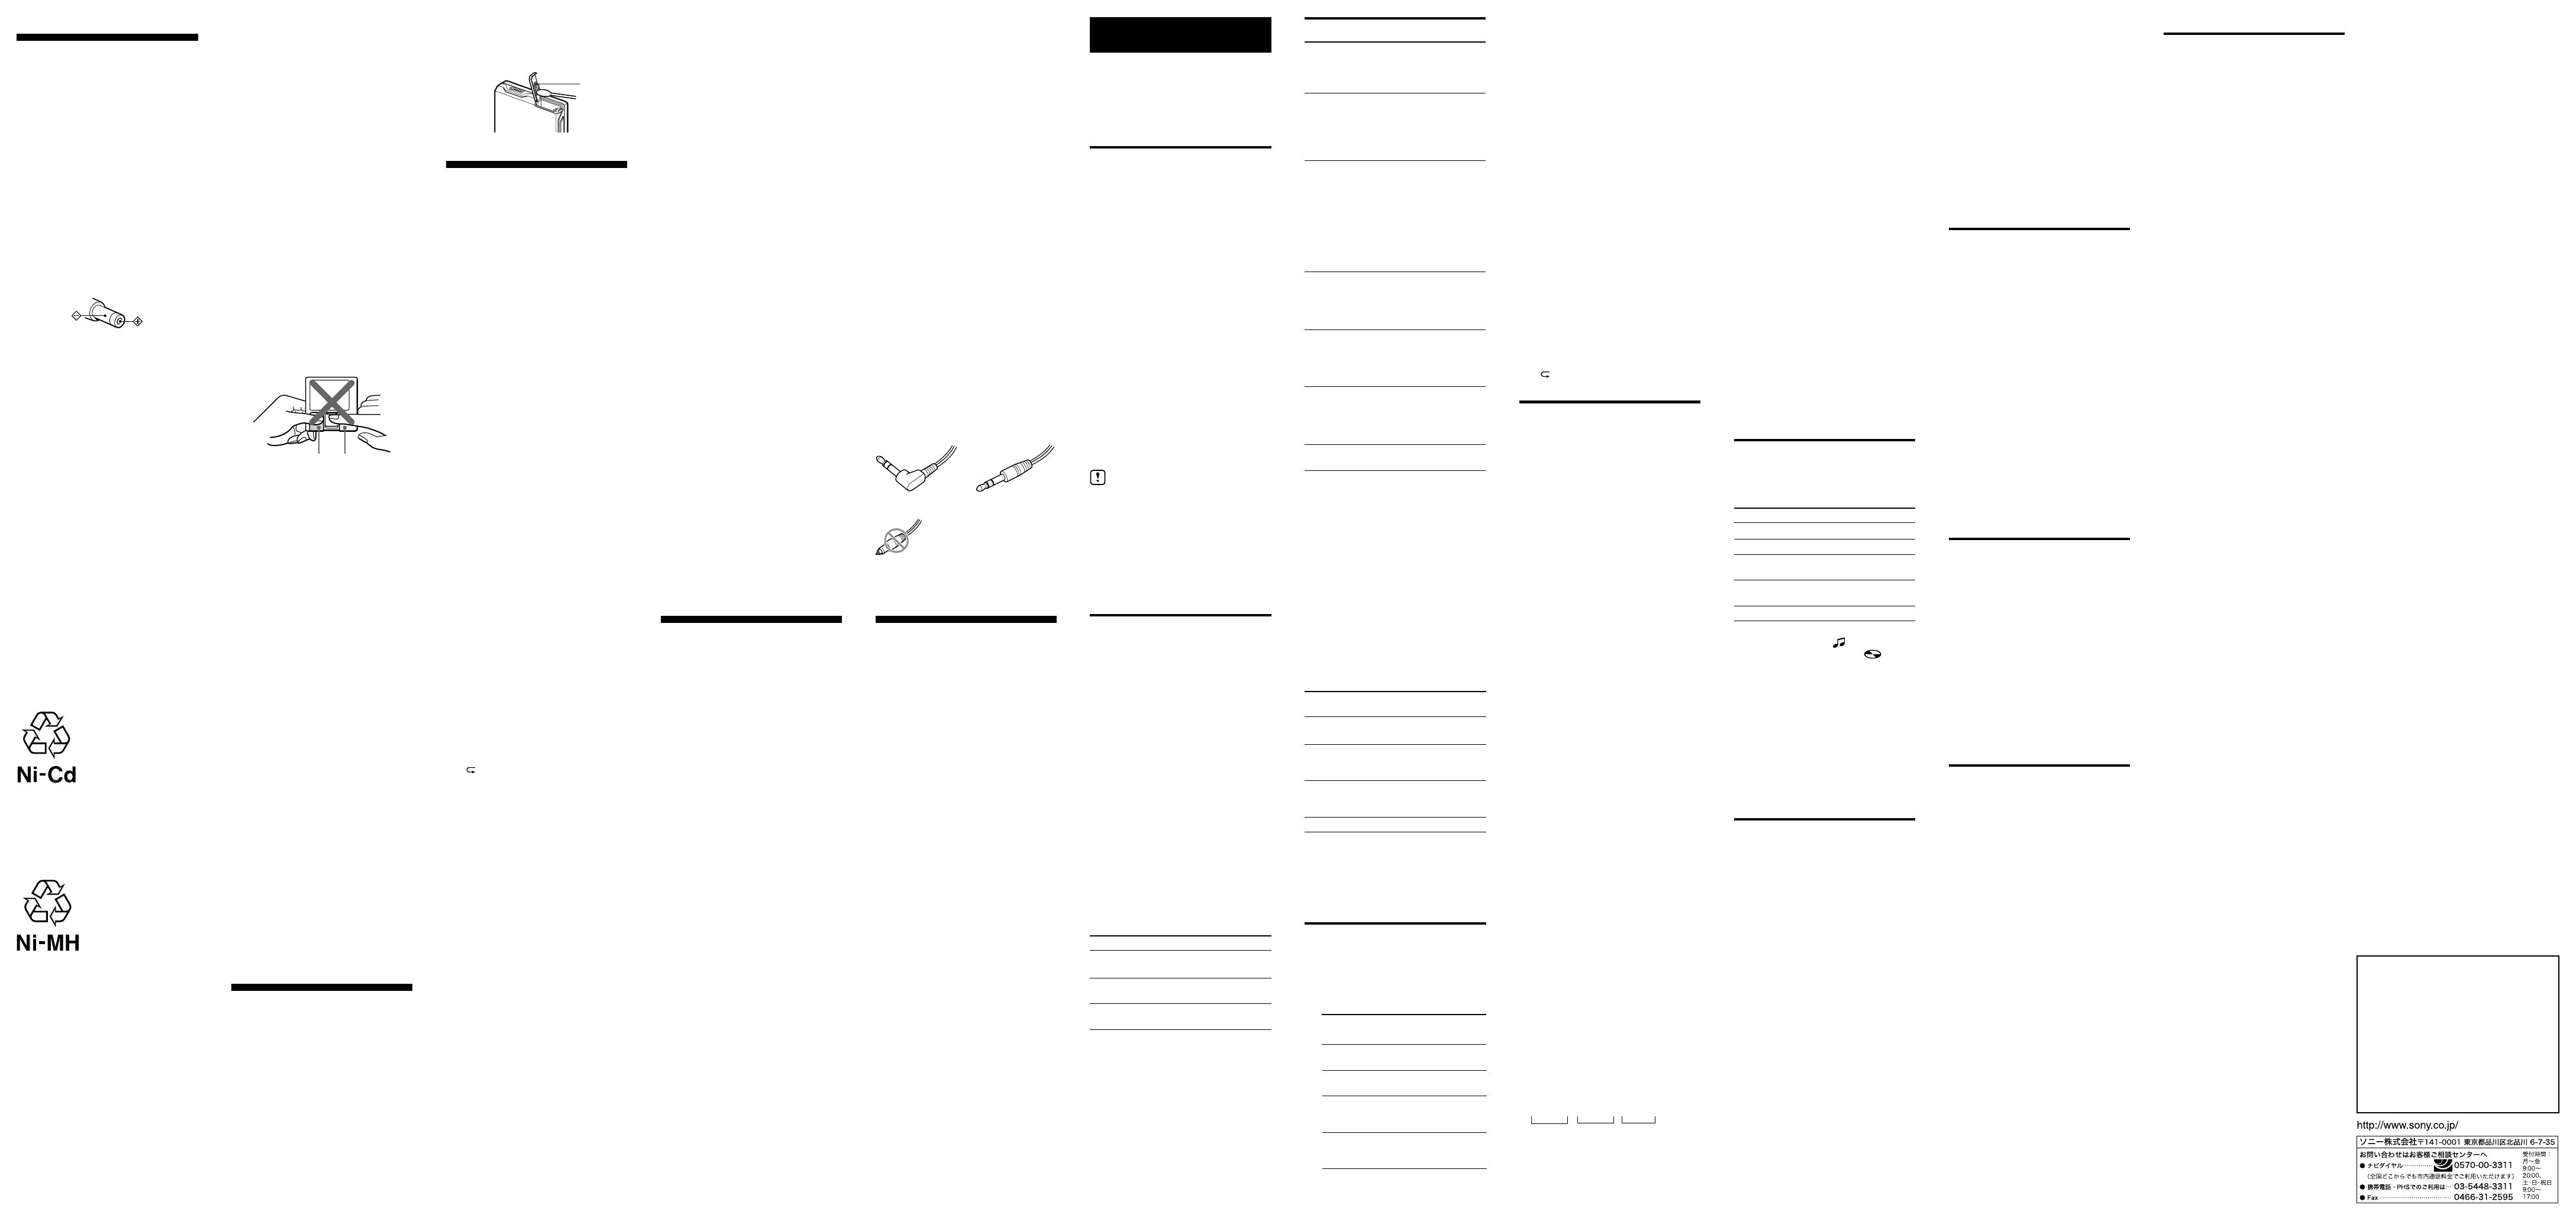
As you read, refer to the
illustrations in the Japanese text.
“WALKMAN” is a trademark of Sony
Corporation.
BPreparing
Getting started A
Assemble the battery charging stand and
charge the supplied rechargeable battery
before using it for the first time. You can also
power the player with a dry battery.
1 Insert the supplied rechargeable battery
NC-6WM into the rechargeable battery
compartment with correct polarity.
2 Connect the supplied AC power adaptor
to the battery charging stand and plug
the AC power adaptor into an electrical
outlet.
3 Place the player on the battery charging
stand.
The CHARGE lamp will light up.
Full charging takes about 6 hours.
The CHARGE lamp will go off when
charging is complete.
4 Connect the supplied headphones to the
remote control.
Connect the remote control to the i jack
on the player.
Slide HOLD on the remote control and
the player to the directions of the arrows
shown in the illustration.
Do not operate the player when you
place it on the battery charging stand or
during the charging. If you do so, it may
cause the player to malfunction or
prevent the battery from charging.
Using the player with a dry battery
Attach the supplied battery case to the player,
and then insert one LR6 (size AA) battery
with correct polarity. Be sure to insert minus
(#) terminal of the battery first.
BMD playing
Playing an MD B
1 Insert an MD.
1 Press OPEN.
2 Insert the MD with the label side
facing up, and press the lid down to
close.
2 Play the MD.
1 Turn the control towards N> on
the remote control (or press > N
on the player).
When using the remote control, a
short beep sounds in the headphones.
2 Pull and turn VOL +/– on the remote
control (or press VOL +/– on the
player) to adjust the volume.
The volume indicator appears on the
remote control, allowing you to check
the volume level. After you adjust the
volume, push back the control.
To stop play, press x.
A long beep sounds in the headphones when
you operate on the remote control.
About the 3 Color Info-LED on the player
The 3 Color Info-LED indicates the current
operating status by the lighting up in the
following colors:
LED color Operating status
Red
Normal play (the LED lights up
continuously)
Green
Group mode* (the LED lights up
continuously
)
Orange Group skip mode* (the LED
lights for about 5 seconds)
* For more details, see “Using the group
function.”
When the battery is exhausted, the LED flashes.
For more details, see “When to recharge or
replace the battery.”
B
AC
• AC
AC AC-E30L
JEITA
• AC
•
•
•
•
• 300
•
•
AC
• CHARGE
6
3
6
TEL 03-3434-0261
http://www.baj.or.jp
TEL 03-3434-0261
http://www.baj.or.jp
•
•
•
— 60
—
—
—
—
—
•
—
—
—
—
•
•
•
?
• NO
DISC
b
•
HOLD
b
HOLD
•
MENU
b
•
b
•
LOW BATT
b
•
b 3 #
•
BLANKDISC
b
• DISC
ERR
b
•
b
1
2 30
3
•
b
RPT/ENT
•
b
OFF
•
b
SOUND
SOUND1 SOUND2
•
b
•
1
•
b
• LP4 4
b
LP4
•
b
•
NO BATT
b
CHARGE
•
b
•
b
• ON
b
•
b
i
b
• AVLS
b
AVLS
AVLS
•
NO GROUP
b
•
Invalid GP
b
• ON
b
GaAlAs MQW
790 nm
300 rpm 2,700 rpm
ACIRC
44.1 kHz
ATRAC
ATRAC3 — LP2
ATRAC3 — LP4
EFM
2
1
20 20,000 Hz 3 dB
:
5 mW 5 mW 16
NC-6WM 1.2 V
600 mAh Ni-Cd 1
3 1
DC 3 V
AC
AC100V 50/60Hz
74.5 80.5 17.9 mm
76.5 81.5 19.2 mm
80g
105g
JEITA
NC-6WM
NH-14WM
CPA-8
* MDR-E888SP
SRS-Z500
SRS-Z750 SRS-Z1000
RM-WMC1**
MD
MZP-1 IC
MD
RPT-M1
*
i
**
•
•
• 1
•
•
•
•
•
8
Other disc operation
To Do this (Beeps
1)
in the
headphones when the
remote control is
operated)
Go backwards
while playing
2)
Turn and hold the control
towards . on the
remote control.
Hold down . on the
player.
Go forward
while playing
2)
Turn and hold the control
towards N> on the
remote control.
Hold down > N on the
player.
Remove the
MD
Press x, and then press
OPEN.
3)
Selecting and playing desired
groups (Group Skip Function)
With a disc which has group settings, you can
skip from the currently playing group to any
other group on the MD.
1 Insert a disc which has group settings
into the player and play the disc.
2 Hold down PLAYMODE on the remote
control until “– – –” flashes in the
display. (Or on the player, press
GROUP.)
The 3 Color Info-LED on the player lights
up orange, and the player enter group
skip mode.
3 While the LED lights up orange (for 5
seconds), turn the control on the remote
control repeatedly until the name or
number of the desired group appears.
During playback on group mode,
playback of the selected group starts with
the first track in the group and stops with
the last track in the group.
During normal playback, playback of the
selected group starts with the first track
in the group and stops with the last track
on the disc.
Notes
• If no operation is performed within 5 seconds
after step 2, you will not be able to perform
step 3 thereafter. To continue with step 2 at
this point, repeat step 1 first.
• Group skip mode cannot be used with a disc
that has no group settings.
BOther operations
Knowing the track name and
playing time E
Press DISPLAY on the remote control.
Each time you press DISPLAY, the display
changes the indications as the follows:
AB
Track number The elapsed time
Track number The track name
1)
The number of total Group name
2)
tracks in Group
The number of total Disc name
1)
tracks
Track number Track mode
3)
1)
Appears only with MDs that have been
electronically labeled. “
: ” appears when
no track name is recorded, and “ : ”
appears when no disc name is recorded.
2)
Appears only during the group mode
playback.
If the group has no name, the group number
appears.
3)
The mode that each track was recorded in is
indicated as follows:
“Mode : SP”,“Mode : LP2”,“Mode : LP4”,
“Mode : MONO”
Note
The mode indication appears only during
playback. It appears for 2 seconds, and is then
replaced by the elapsed time of the current track.
Adjusting the sound quality
(Digital Sound Preset) F
You can make adjustments to the sound
quality to suit your taste, and then store two
sets of these adjustments.
1 Press SOUND on the remote control
repeatedly to select “SOUND1” or
“SOUND2.”
2 During playback, press SOUND for 2
seconds or more.
The player changes to the bass-setting
mode. Pressing SOUND for 2
seconds or more again changes the player
to the treble-setting mode.
3 Turn the control on the remote control
repeatedly to adjust the bass or the treble.
When you press SOUND for more than 2
seconds while adjusting the bass, the
display switches to the treble (or vice-
versa).
When you press SOUND for a short time
while adjusting the bass or the treble, the
setting for that sound is entered and the
display switches to the other sound
setting.
The sound can be adjusted in 8 steps
from –4 to +3.
4 Press RPT/ENT on the remote control.
The sound settings are stored and the
playback display appears again.
To select a preset sound
Press SOUND on the remote control repeatedly
to select “SOUND1,” “SOUND2.” Selecting no
display turns off the digital sound preset
function.
Digital sound preset factory settings
The digital sound preset factory settings are as
follows:
• “SOUND1”: bass +1, treble ±0
• “SOUND2”: bass +3, treble ±0
Notes
• Settings cannot be changed through the
operation buttons on the player.
• When you use the digital sound preset, the
sound may break or become distorted
depending on the settings or the track. In this
case, change the settings of the sound quality.
Protecting your hearing (AVLS—
Auto Volume Limiter System) G
1
During playback, press DISPLAY on the
remote control for 2 seconds or more.
2 Turn the control on the remote control
repeatedly to flash “AVLS,” and press x
on the remote control.
3 Turn the control on the remote control
repeatedly to flash “AVLS ON,” and
press x on the remote control.
“AVLS ON” appears in the display.
To set the AVLS function on the player
During playback, slide HOLD towards .,
and then while pressing VOL –, slide HOLD
in the opposite direction.
To cancel the AVLS function
Select “AVLS OFF” and press x on the
remote control in step 3.
Or on the player, during playback, slide
HOLD in the direction of ., and then
while pressing VOL +, slide HOLD in the
opposite direction.
Turning off the beep sound H
You can turn off the beep sound in the
headphones.
1 Press DISPLAY on the remote control for
2 seconds or more.
2 Turn the control on the remote control
repeatedly to flash “BEEP,” and press x
on the remote control.
3 Turn the control on the remote control
repeatedly to flash “BEEP OFF,” and
press x on the remote control.
To turn on the beep sound
Select “BEEP ON” and press x on the remote
control in step 3.
Locking the controls (HOLD) I
Slide HOLD on the remote control in the
direction of the . to lock the controls of the
remote control and slide HOLD on the player
in the direction of the . to lock the controls
of the player.
To unlock the controls
Slide HOLD to the opposite directions of the
arrows.
Pause Press X on the remote
control. (Continuous short
beeps)
Press X on the remote
control again to resume
playback.
2)
Find the
beginning of
the next track
Find the
beginning of
the current
track/the
beginning of
the previous
track
Turn the control towards
.once on the remote
control
(Three short beeps)
.
(Or press . once on the
player.)
Turn the control towards
.repeatedly
(Continuous
three short beeps)
.
(Or press .on the
player repeatedly.)
Turn the control towards
N> on the remote
control. (Two short beeps)
Press > N on the
player once.
BPower Sources
Using on a battery J
Insert one LR6 (size AA) alkaline dry battery
(not supplied) into the supplied dry battery
case with correct polarity, and then attach the
supplied battery case to the player.
The dry battery
1)
should power consecutive
playback for about 43 hours
2)
before you need
to replace it. If you use both a dry battery
1)
and a rechargeable battery
3)
(consecutively),
the total playback time should be about 63
hours
2)
.
1)
When using Sony “STAMINA” alkaline dry
battery produced in Japan.
2)
Measured in accordance with JEITA (Japan
Electronics and Information Technology
Industries Association ) standard (using a
Sony MDW-series Mini-disc).
3)
With a fully charged battery.
Note
Battery performance may be shorter than the
specified duration, depending on the operating
conditions, the temperature of the location, and
the type of battery being used.
When to recharge or replace the
battery
Indication in the display on the remote
control
When the battery indication changes to r,
the rechargeable battery or the dry battery is
weak. Recharge the rechargeable battery or
replace the dry battery. When the battery is
exhausted, “LOW BATT” flashes in the
display on the remote control and the power
goes off.
Indication of 3 Color Info-LED on the
player
When 3 Color Info-LED flashes slowly, the
rechargeable battery or the dry battery is
weak. Recharge the rechargeable battery or
replace the dry battery. When the battery is
exhausted, 3 Color Info-LED flashes fast, after
a while, the power goes off.
Notes
• The battery indication may show the battery
to be fully charged even when it is not.
Charging the battery shorter than the
prescribed time will result in a shorter
operating time on the player.
• The battery indication will show a low charge
when the player goes forward or backwards
or is used at extremely low temperatures.
1)
You can turn off the beep sound. For more
details, see “Turning off the beep sound.”
2)
When you press . or > N on the player
during pause, the player resumes playback.
If you turn and hold the control towards .
or N> on the remote control (or hold
down . or > N on the player) during
pause, you can fast forward/rewind without
listening to the playback sound.
3)
Once you open the lid, the point to start
playback changes to the beginning of the first
track.
Note
When removing the disc, make sure to press x
first, and then press OPEN.
About the anti-skip function
The anti-skip function provides resistance to
vibration for varying lengths of time, depending
on the playback mode of the track.
(Unit: Approx. sec.)
Recorded
Mode
SP
Stereo
LP2
stereo
LP4
stereo
Monaural
* The player can play the tracks recorded in 2
times or 4 times long mode (LP2 or LP4).
Normal stereo playback, LP2 stereo playback,
LP4 stereo playback or monaural playback is
automatically selected to match the audio
source.
B
Various ways of playback
Selecting the play mode C
You can select various play modes using the
PLAYMODE and RPT/ENT buttons on the
remote control.
1 Press PLAYMODE repeatedly.
Each time you press this button, the play
mode changes as follows:
Display of the Play mode
Playback mode
Meaning of
the mode
Standard
mode (stereo)
2 × mode
(2 × normal
playing time)
4 × mode
(4 × normal
playing time)
Monaural
Vibration
resistance time
40
80
160
80
048-794-5194
9 6
5 Press RPT/ENT for 2 seconds or more.
The settings are entered and playback
starts from the first programmed track.
Notes
• The setting will be cancelled when you open
the lid.
• If no settings are made for 5 minutes while the
player is stopped, the settings made up to that
point are entered.
• If you use the group function during program
play, the program setting will be lost.
Repeat play
You can use this function to repeat playback
in normal play, single play, shuffle play, or
program play mode.
1 Press RPT/ENT on the remote control
during playback.
“ ” appears in the display.
Using the group function D
The MZ-E501 can be used with a disc which
has group settings. The group function
allows you to play the tracks on an MD in
groups. This is convenient for playing many
tracks or tracks which are recorded in MDLP
(LP2/LP4) mode.
What is a disc with group settings?
This is a disc with settings that organaize
tracks into groups, and which allows those
groups to be selected.
Listening to tracks in a specific
group (Group Mode Playback)
1 Insert a disc which has group settings
into the player, and then play the disc.
2 Press DISPLAY on the remote control for
2 seconds or more.
3 Turn the control on the remote control
repeatedly until “GROUP” flashes, and
then press x on the remote control.
4 Turn the control on the remote control
repeatedly until “GROUP ON” flashes,
and then press x on the remote control.
(Or on the player, press GROUP for 2
seconds or more.)
“G” (Group mode) appears in the display
of the remote control and then group
mode is turned on.
The 3 Color info-LED on the player lights
up green.
Playback stops at the end of the last track
in the selected group.
For details on selecting another group,
see “Selecting and playing desired
groups.”
To turn off group mode
Select “GROUP OFF” and press x in step 4.
(Or on the player, press GROUP for 2 seconds
or more.)
The 3 Color info-LED lights up red and group
mode turns off.
Notes
• Group mode is cancelled when the lid is
opened.
• If you try to turn on group mode with a track
that does not belong to any group, “Invalid
GP” will flash in the display.
If this happens, select a track that belongs to a
group using a group skip mode (see
“Selecting and playing desired groups”), and
repeat step 2.
• If “NO GROUP” appears in the display on the
remote control in step 4, it means that you are
using a disc that has no group settings. Insert
a disc with group settings and start from step
1 again.
• If group mode is off and you try to play a disc
that has group settings, the following the text
string may appear in the display.
Example:
0;Favorites//1–5;Rock//6–9;Pops//
123
1 Disc name “Favorites”
2 Group name “Rock” : registered Tracks 1 to 5
3 Group name “Pops” : registered Tracks 6 to 9
(none)
(normal play)
All the tracks are
played once.
1 (single play) A single track is
played once.
SHUF
(shuffle play)
All the tracks are
played in random
order.
PGM
(program play)
Tracks are played in
the order that you
specified.
Listening to tracks in a desired
sequence (Program Play)
1 During playback, press PLAYMODE on
the remote control repeatedly until
“PGM” appears in the display.
2 Turn the control on the remote control to
select a track.
3 Press RPT/ENT on the remote control to
enter a track number.
4 Repeat steps 2 and 3 to program more
tracks.

